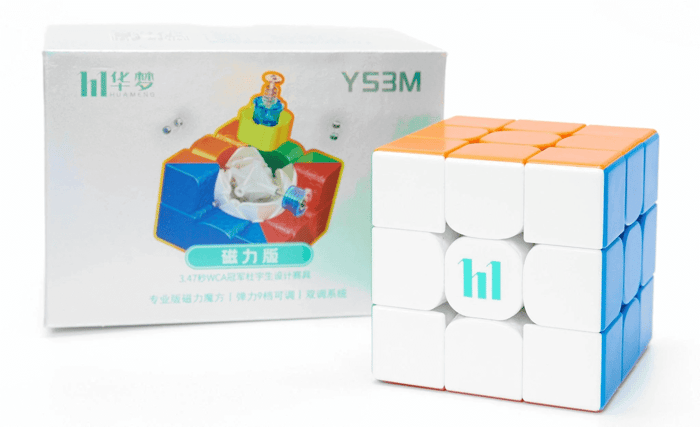
HOT Seller
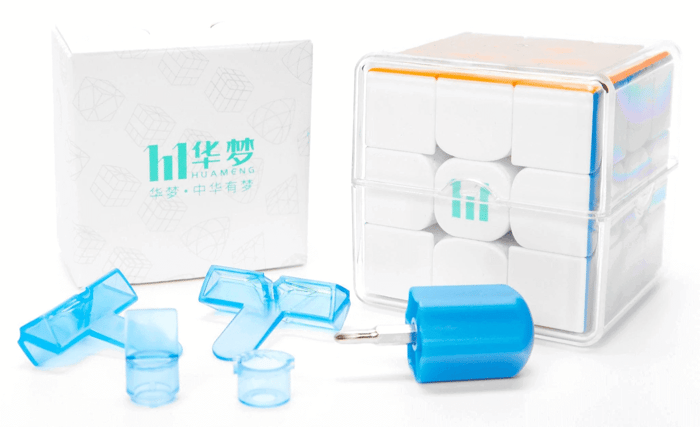


Bored of the standard Stackmat timer design? Spice things up with one of SpeedCubeShop's timer skins! This blog post will cover how to apply a timer skin to a G5 Stackmat timer.
Cleaning the Timer
There are two ways to apply a timer skin. The first is simply to directly apply the skin onto the timer, and the second is to use isopropyl alcohol and a microfiber cloth to remove any dirt or glue that may be on the timer's surface. The latter will provide a slightly nicer, more perfectionist quality but the first option works too.
If you choose to use isopropyl alcohol, make sure to not douse your timer in the liquid! Apply a small amount to a microfiber cloth and wipe down all the surfaces of the timer.


Applying Stickers
If this is your first time applying a timer skin, start with one of the sections that's less visible. This way, if you happen to mess up, it's not the end of the world. However, if you do mess up, the stickers are made of pretty thick vinyl and should come off fairly easily.
Note that you don't need to remove the existing stickers on the timer. The timer skin stickers go over them and they don't have any impact on the sensitivity of the sensor pads.
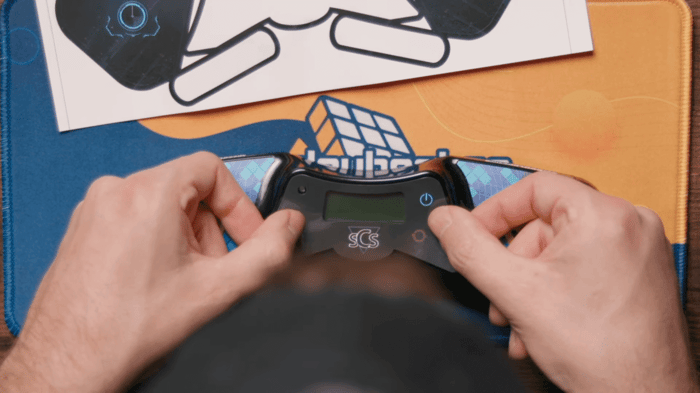
To apply, align the timer skin sticker with the existing one on the Stackmat timer and gently lay it down. Once it looks aligned, press it down with more force to secure it in place.

Try to remove the air bubbles as much as possible by rubbing the sticker from the middle outward. This will result in a nice, clean application.
Repeat this process with the rest of the stickers.
Pro tip: When applying the timer skin, make sure to align the stickers with the existing ones already on the timer and not the plastic of the timer. The plastic molding is intentionally bigger to allow space for the stickers, so aligning the stickers with existing stickers rather than the plastic will ensure even margins.

Pro tip #2: Sometimes, the timer skin might not be a 100% perfect fit and the stickers may be slightly smaller than the ones already on the timer. By applying the sticker starting on the light part of the existing sticker, you'll cover up any light colors of the existing sticker that may be visible and instead reveal darker colors that blend in with the timer much better.
When applying the center sticker that encloses the timer display, make sure that the circle in the top left is cut out! That hole is for the timer indicator light and you don't want it to be covered up.
Don't forget to rub the from the middle outward to remove air bubbles!
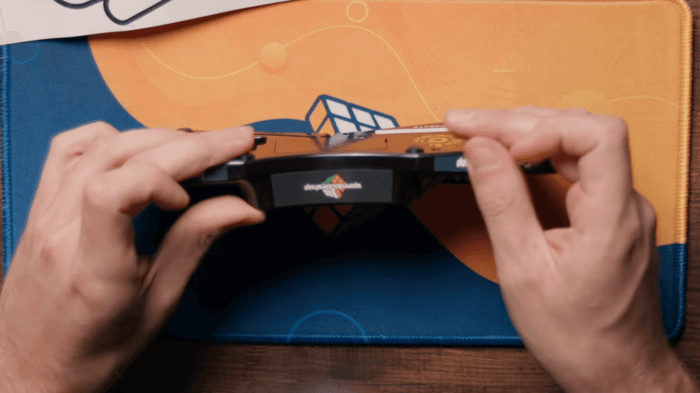
For the stickers that go over the sensor pads, it's best to align them using the inner edge for the most accurate placement.

For the back piece with the SpeedCubeShop logo, there's no existing sticker to use as a guide so it can be rather tricky. Align the sticker above the plastic seam so it's easier to apply.
And you're done! Enjoy the fresh look of your timer!
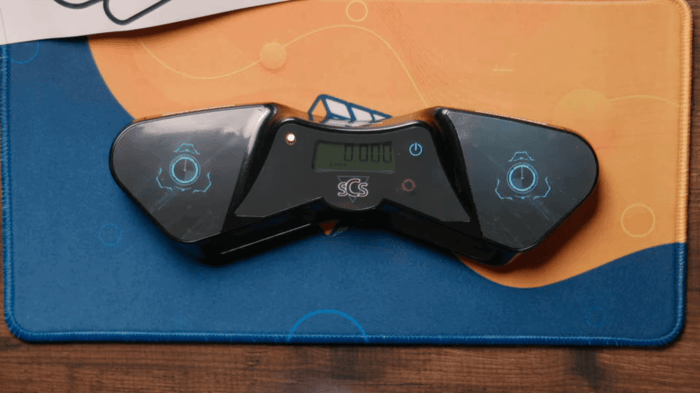
SpeedCubeShop offers a selection of unique timer skin designs and is always looking to create new ones. Check them out below!
[dib_prod_6826752868465]